Step-by-Step Guide to Designing Custom Embroidered Patches
Create personalized embroidered patches effortlessly with these four simple steps. From choosing the perfect size and shape to clarifying your design concept, this guide helps you craft stylish patches suitable for any clothing or accessory. Keep designs simple, stay trendy, and let your creativity shine through. Perfect for personal use or gifting, custom patches add a unique touch to your wardrobe. Follow these expert tips to bring your ideas to life and enjoy one-of-a-kind embroidered accessories tailored to your taste.
Sponsored
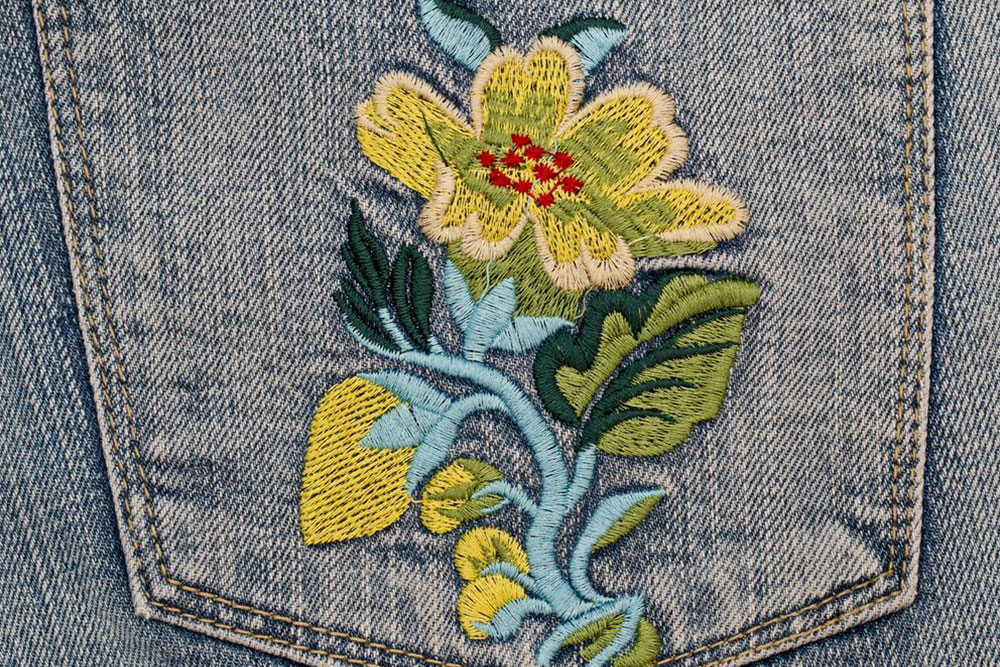
Looking to enhance your denim or accessories with a stylish touch? Custom embroidered patches are the perfect solution! They are trendy, versatile, and can be applied to jackets, hats, bags, and more. If you're eager to create your own personalized patches, follow these four easy steps:
Select the right size – The patch size should match its intended placement. For small items like hats or jeans, 2 to 4 inches works well. For larger areas like back patches, opt for 8 to 12 inches.
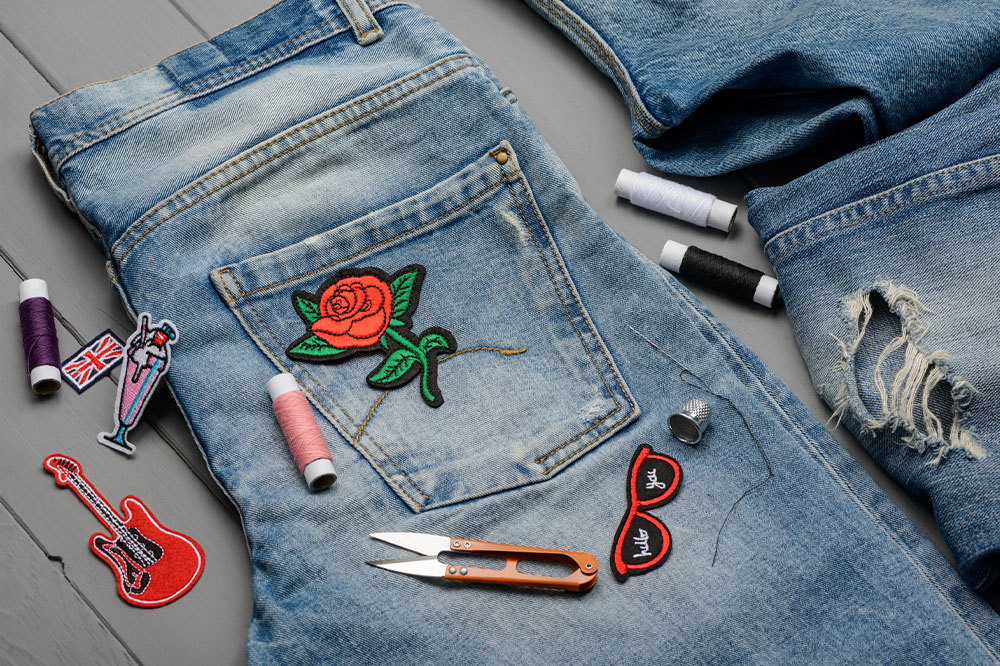
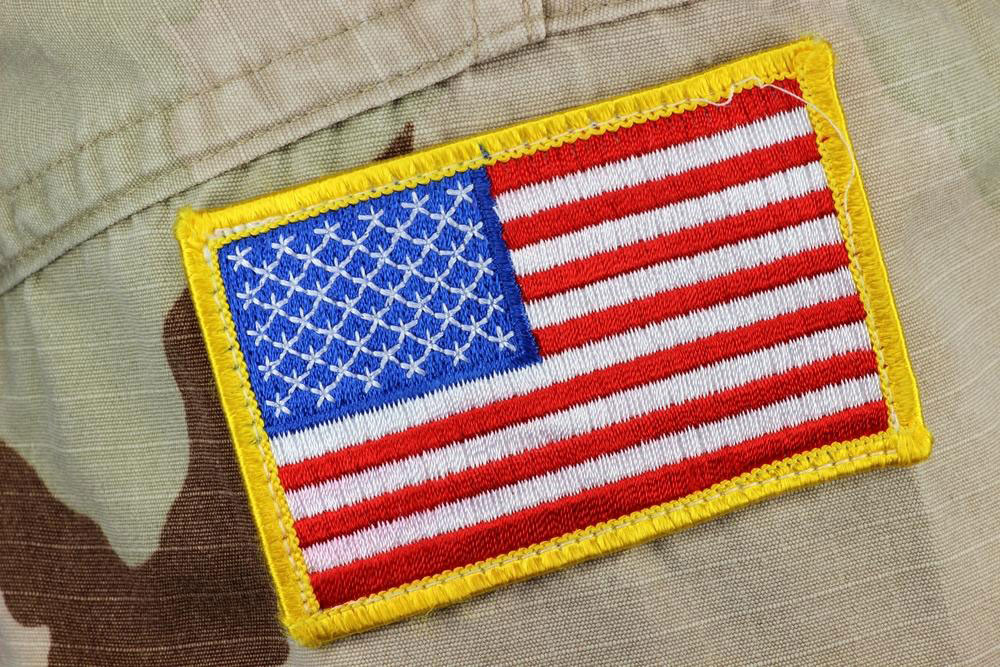
Pick a shape – Basic shapes include circles, squares, and ovals. Depending on your design, you can choose a shape that best complements your concept. Ready-made patches with these shapes are also available for quick customization.
Define your concept – Clarify what your patch should communicate. Whether it’s a logo, symbol, or message, gathering inspiration through photos or text helps convey your idea clearly to the designer.
Design and finalize – Keep the design simple; avoid clutter to ensure clarity. Sketch your idea beforehand and share it with the designer. Personal touches like favorite quotes, characters, or doodles make your patches unique.
Ensure your vision is clear and stay updated with current design trends to craft eye-catching embroidered patches that reflect your style.