Essential Steps for Constructing an Outdoor Storage Shed
Learn how to build a durable and attractive outdoor storage shed with this comprehensive step-by-step guide. From selecting materials, obtaining permits, preparing the site, to constructing the foundation, walls, and roof, this article provides all the essential tips for a successful DIY shed project. Budget considerations and professional help options are also discussed to ensure optimal results for your outdoor storage needs.
Sponsored
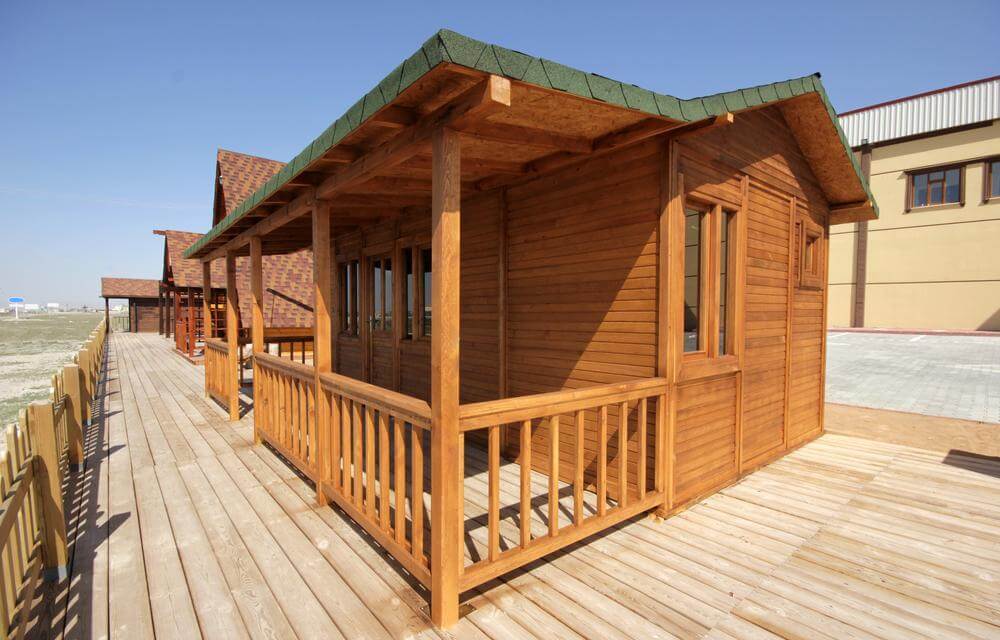
Creating an outdoor shed is an effective way to maximize indoor space by storing tools, equipment, and bulky items outside. The shed should combine functionality with visual appeal. Fortunately, building one isn't complicated, especially with a clear understanding of the process, making it a perfect DIY project.
Guidelines for Building a Garden Storage Shed
1. Select Appropriate Materials
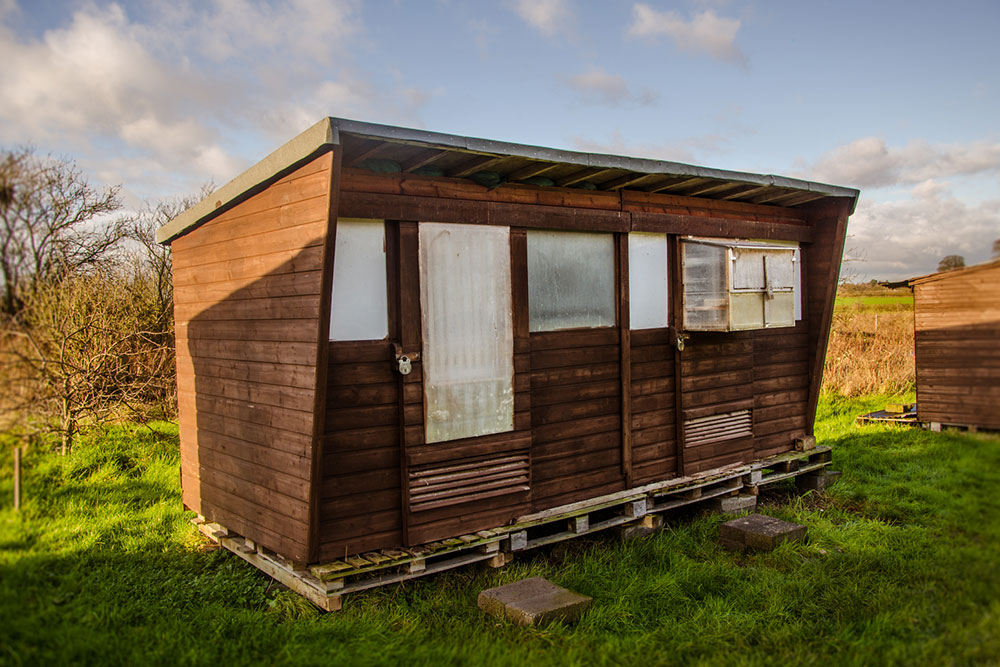
Resin, metal, or wood are ideal options to endure weather extremes. Wooden sheds are particularly easy to customize, allowing for additions like shelves or paint. However, wood may attract insects or rodents, so consider resin or metal for durability and pest resistance. Each material has its benefits and drawbacks, so choose based on your needs.
Additions like shelves and lofts can be made later, and you can paint the shed in various colors. Resin offers weather resistance, while metal provides robustness. Ensure you weigh these factors when selecting your shed material.
2. Obtain Necessary Permits
Many local authorities require homeowners to secure a permit before constructing an outdoor shed to meet building regulations. The necessity depends on the shed’s size and height. Typically, sheds under 15 square meters may not need approval, but always verify with local officials beforehand.
3. Prepare the Site
Once permits are secured and materials chosen, clear the designated area of debris, grass, and stones. Ensure the ground is level and drains well. Use stakes and strings to outline the shed’s perimeter, checking measurements and square alignment with a level and measuring tools.
4. Gather Essential Tools
Your toolkit should include a saw, drill, hammer, level, measuring tape, clamps, and safety gear. Additional tools like a caulk gun, nail gun, and chalk line enhance efficiency during construction.
5. Build a Strong Foundation
A durable foundation ensures the shed’s stability. Options include concrete blocks, gravel, or pavers combined with construction adhesive for added strength. Proper foundation choice depends on shed size and ground conditions.
6. Construct the Floor Frame
A raised floor with treated lumber enhances durability. For larger sheds, concrete slabs or gravel bases are ideal; smaller structures can sit directly on the ground. Secure the frame to the foundation to ensure stability.
7. Frame the Walls
Cut and assemble wall frames, incorporating openings for doors and windows. Attach the walls to the platform, aligning bottom plates with chalk lines. Slightly angle the top plates to form a sloped roof for runoff.
8. Assemble the Roof and Doors
Build and secure the roof frame, ensuring proper slope for drainage. Cover with roofing felt or tar paper for weatherproofing. Construct doors from wood or metal frames, securing them to the shed frame.
9. Install Ventilation Elements
Attach soffits to cover underside of roof overhang, providing ventilation and protecting rafters. Install these panels while the roof is on the platform, then finish with the roof covering. Proper ventilation extends the life of your shed and improves airflow.
Finally, secure all components properly. If needed, consult professionals to avoid mistakes. Building a shed involves costs varying from $1,000 to $10,000, depending on materials and size. Budget considerations should include labor and accessory costs like doors and windows.