Step-by-Step Guide to Replacing Your Dishwasher Front Panel
Learn how to easily replace your dishwasher's front cover panel with this clear, step-by-step guide. Save money and extend the life of your appliance by doing it yourself—quickly and safely. The guide covers everything from ordering the correct part to safely removing and installing the new panel, ensuring your dishwasher looks and functions like new.
Sponsored
Replacing Your Dishwasher's Front Cover Panel
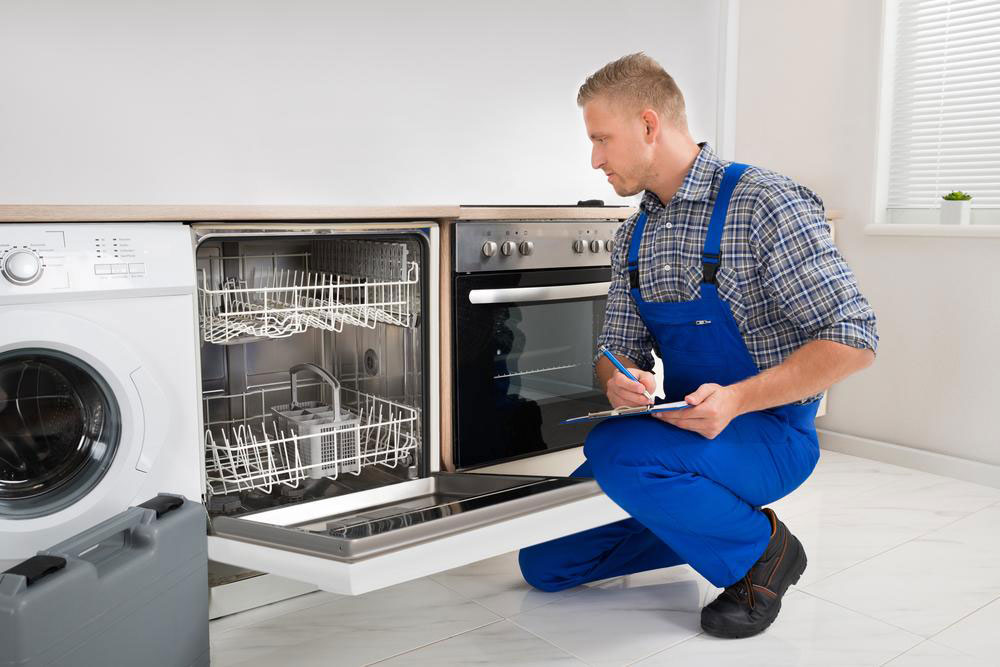
If your dishwasher's front panel becomes dented, cracked, or damaged over time, replacing it can restore the appliance’s appearance without the need for a new machine. The process is straightforward, requiring only basic tools and about an hour to complete.
Below are the essential steps to replace the front cover panel of your dishwasher.
Order a New Front Panel
Start by acquiring a new, undamaged front panel compatible with your dishwasher model. For recent models, hardware stores often stock these parts. If you own an older model, contacting the manufacturer or specialty stores focusing on appliance parts may be necessary. Many online options are available, but ensure you know your dishwasher's make and model for an accurate fit.
Disconnect Power
Before starting, unplug the dishwasher or switch off the circuit breaker to ensure safety while working on the appliance.
Remove Screws from the Front Panel
Open the dishwasher and locate around eight screws along the edge of the front panel. Use a screwdriver to carefully remove them and store the screws in a small container to prevent loss.
Detach the Old Front Panel
Gently hold the panel and press it inward to release it, then carefully lift it away, ensuring no internal wires are strained or caught. Keep a firm grip to avoid damage.
Install the New Front Panel
Hold the new panel in place, aligning it with the bottom rail of the door. Push it until it sits flush. Reattach the screws—first partially, then tighten each to secure the panel firmly. Make sure no wires are pinched or trapped during installation.