DIY Guide: How to Replace a Car Windshield Safely
Learn essential steps to replace your vehicle's windshield safely and effectively. This guide covers tools, precautions, and procedures for DIY windshield replacement, ensuring safety and compliance with regulations. Proper technique helps prevent injuries and ensures a durable fix, saving costs and maintaining vehicle safety. From removing the damaged glass to applying the new sealant, follow these tips for a successful DIY project that restores your windshield’s integrity.
Sponsored
DIY Steps for Replacing Your Vehicle's Windshield
To avoid damage, park your vehicle away from trees and signs, and consider installing cameras to document the damage caused by external factors for insurance claims. When DIY replacement is chosen, following a systematic procedure can help. However, caution is necessary to prevent injuries or further damage. Below are essential steps for replacing a windshield securely:
Find a reliable supplier to purchase cost-effective windshields. Carefully remove the old glass by detaching the rubber or metal beading, ensuring no damage to the paintwork. Use a windshield removal knife for this task.
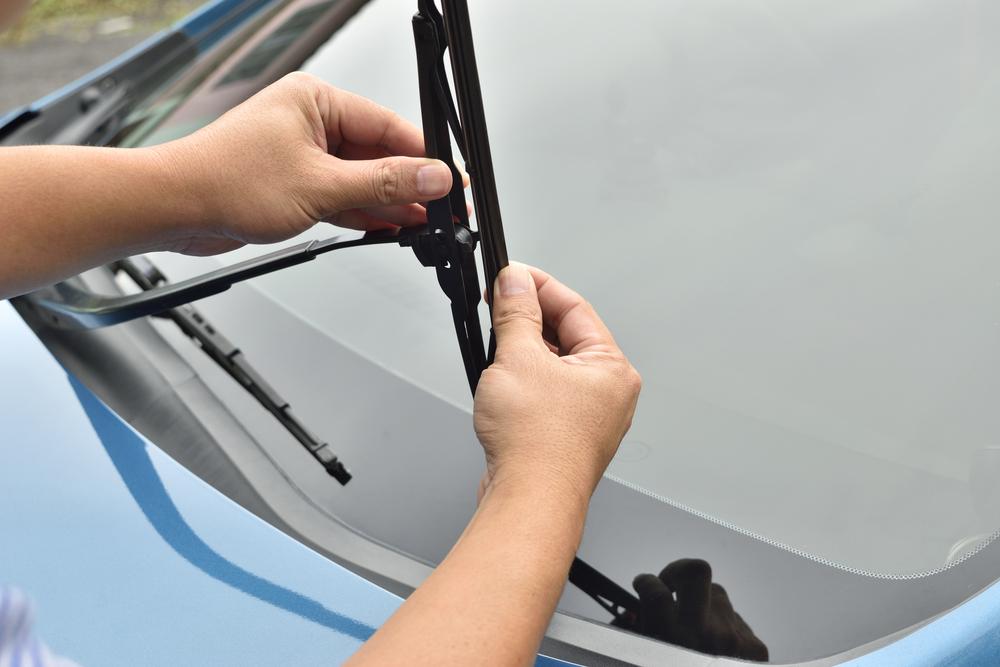
Remove the windshield wiper arms by unbolting them.
Gently push the glass outside using suction cups or, if unavailable, wear strong rubber gloves.
Use scrapers to eliminate old glue and silicone from the installation area, cleaning with alcohol-based thinners, taking care not to scratch the surrounding paint.
To install the new windshield, apply polyurethane-based adhesive or urethane windshield sealant via a caulking gun. Center the glass accurately and press it into place. Use duct tape to hold it securely, allowing it to cure for 4 to 6 hours before driving. Proper adherence ensures safety and longevity of the repair.