DIY Large Wooden Garden Planter: Step-by-Step Guide
Learn how to build a large wooden garden planter with easy-to-follow steps. This DIY project uses simple tools and materials like wood, screws, and screen to create a durable, attractive planter perfect for enhancing your garden or outdoor space. Personalize your gardening area and enjoy a creative, rewarding experience by making your own large planter at home.
Sponsored
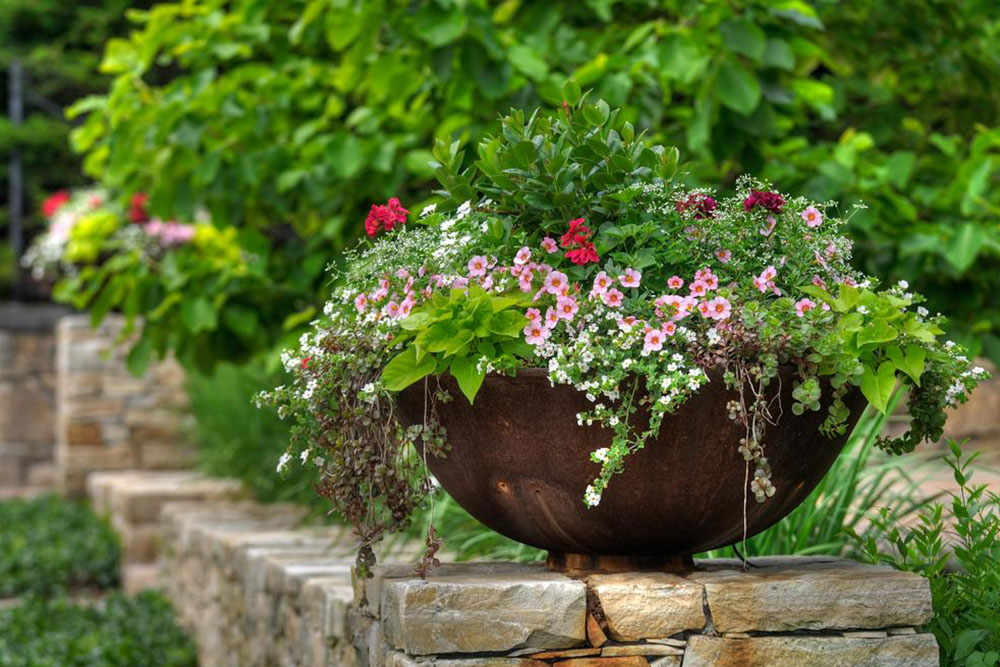
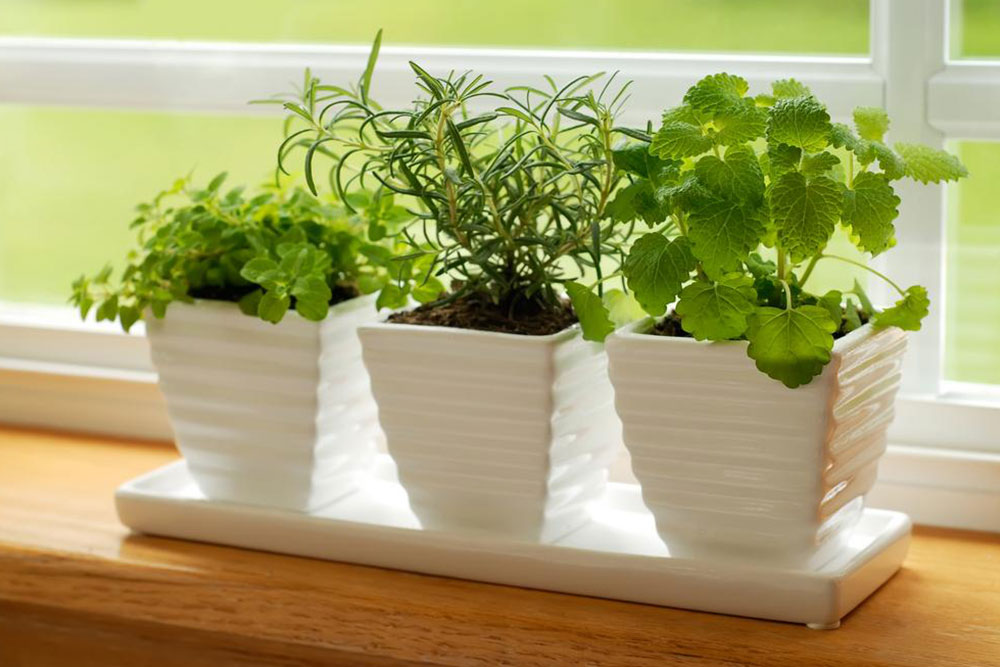
Create Your Own Spacious Garden Container
Large garden containers enhance the visual appeal of outdoor spaces and serve as elegant displays for plants and flowers. They come in various styles and dimensions, allowing you to organize your garden or office area beautifully. Building your own large planter can add a personal touch and boost your gardening experience, especially if you enjoy DIY projects.
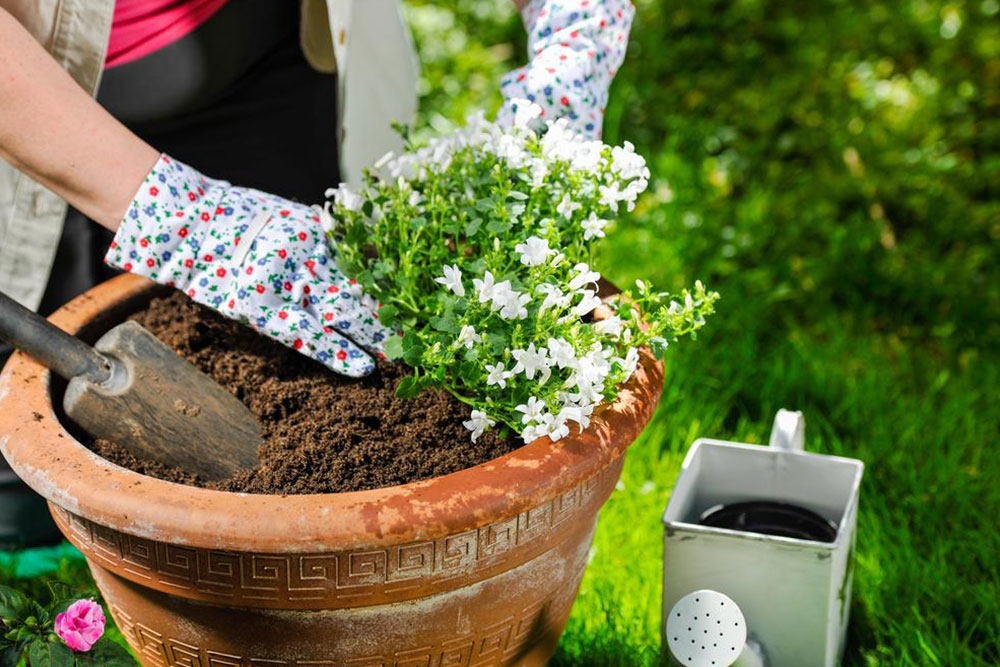
While purchasing planters online or in stores is straightforward, crafting your own offers a rewarding alternative. Wooden planters are among the simplest to make, requiring basic skills and tools.
Materials needed for a rectangular wooden planter include:
Quality wood (teak, cedar, redwood, cypress, or pine)
Measuring tape
Drill and screws
Pencil and marker
Saw (manual or electric)
Hammer
Nylon or vinyl screen
Sander or sandpaper
Paint, primer, and finish
To begin, measure and mark the wood pieces according to your desired dimensions. Cut the boards to size, optionally with the help of a professional carpenter or shop staff. Assemble the sides by marking pilot holes, drilling, and screwing the pieces together, forming a five-sided rectangular structure with one open side. Flip the box upside down to attach the base, drilling drainage holes. Line the interior with nylon or vinyl screen to prevent soil leakage, securing it with small nails. Finish by sanding rough edges, painting, or staining to match your decor.