DIY Guide to Crafting a Wooden Garden Container
Discover how to build a stylish and functional wooden garden container with this easy, step-by-step guide. Perfect for small balconies or outdoor gardens, it covers selecting materials, drilling drainage, finishing touches, and placement tips, helping you cultivate your own plants with confidence and style.
Sponsored
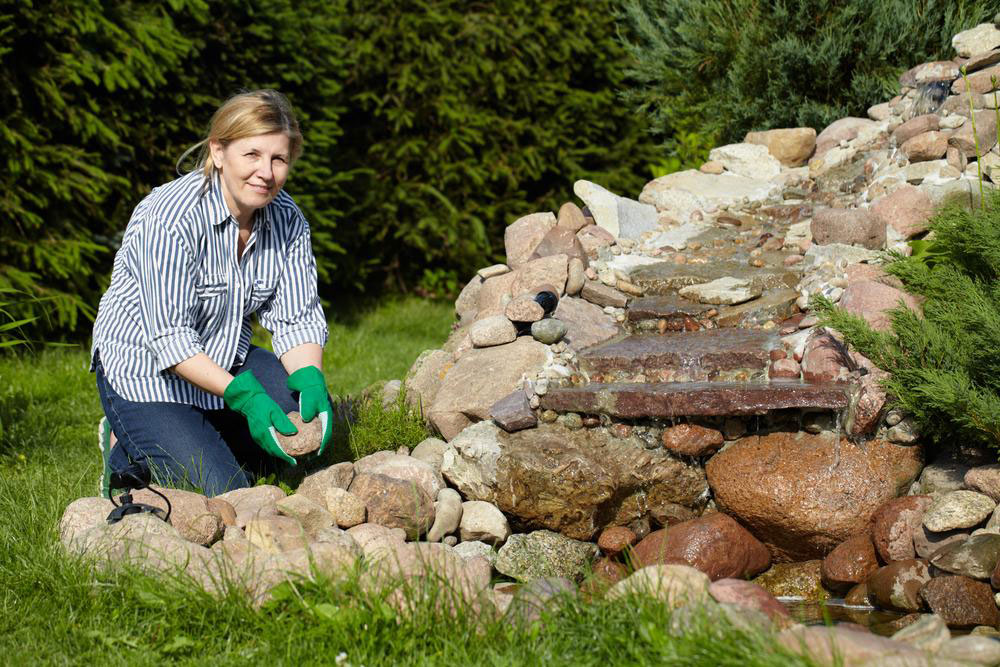
Gardening offers a relaxing escape, no matter the size of your space. With thoughtful planning, you can maximize your area and cultivate your favorite plants. Wooden garden containers are an excellent solution for creating compact planting areas to grow vegetables, herbs, or flowers. Here’s a step-by-step guide to building your own wooden garden container.
Step 1: Determine the container dimensions
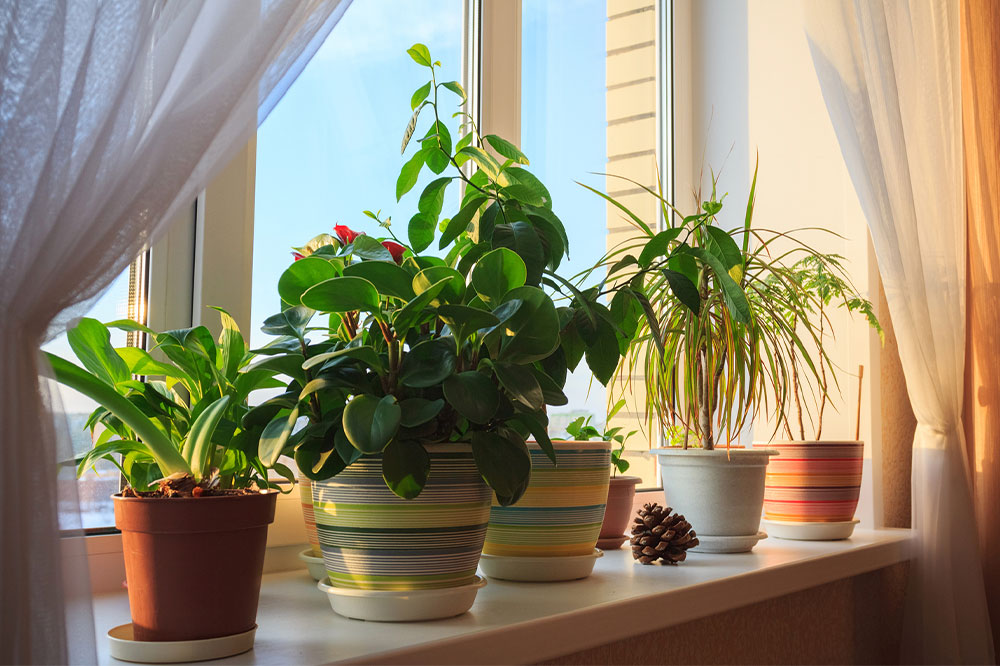
Measure your available gardening space with a tape measure and decide how many containers you will build. Based on this, choose appropriate sizes. Narrow, rectangular containers are ideal for window sills or small balconies, while larger ones suit outdoor gardens.

For outdoor gardens, opt for wider containers.
Step 2: Prepare the wood
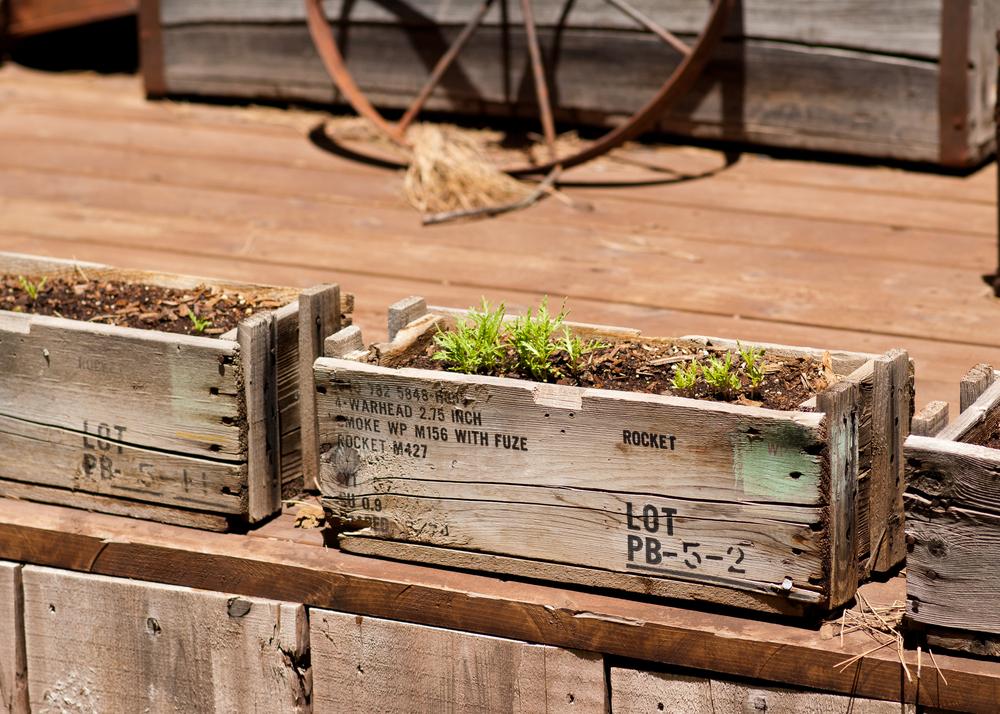
If planting edible plants, select untreated wood, as chemicals can leach into the soil. Cedar is popular for its ease of handling. Purchase pre-cut panels or buy a full plank and cut to size. You'll need pieces for all four sides and a wider plank for the bottom.
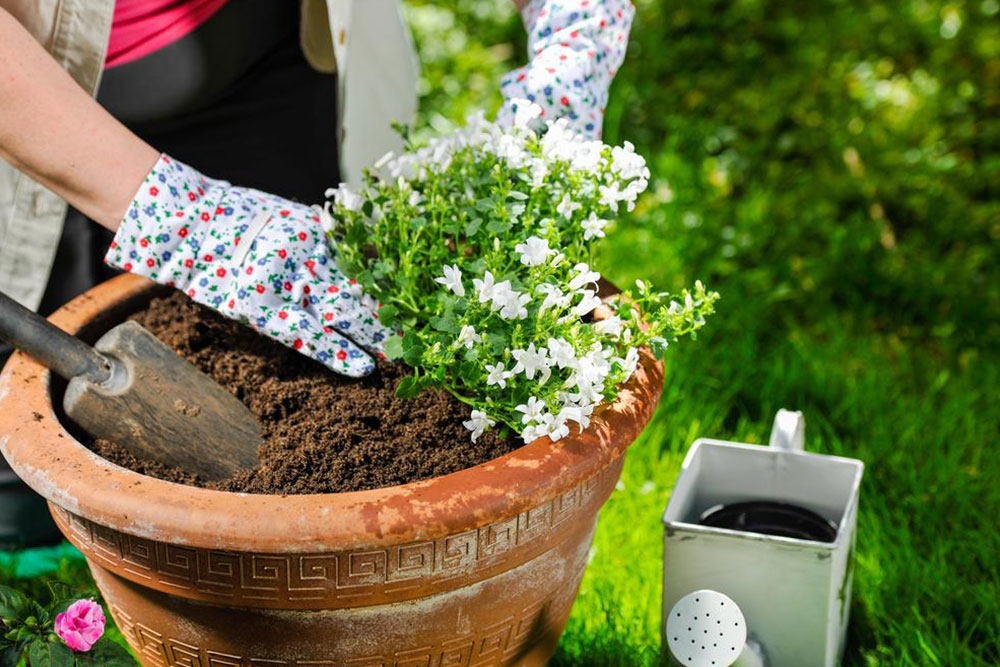
Step 3: Drill drainage holes
Proper drainage is essential to prevent root rot. Drill 3-4 holes near the bottom to allow excess water to escape, maintaining healthy plant growth.
These drainage holes help prevent water accumulation.
Step 4: Seal the bottom
Cover the bottom with a nylon or vinyl sheet to prevent soil leakage through the drainage holes, then secure it with nails. This also shields the wood from moisture damage.
Step 5: Smooth rough edges
Inspect for sharp or rough spots on the planter’s edges. Sand these down to avoid injuries, and remove any protruding nails for safety.
Step 6: Finish the surface
Apply a coat of wood primer or paint to protect the surface. Feel free to add colorful designs for a vibrant look. Once dry, your planter is ready for planting.
Step 7: Position the planter
For balcony or window placement, use sturdy brackets to secure the container. To protect indoor or balcony surfaces, lay a waterproof sheet underneath. For outdoor use, consider digging into the soil or building a raised bed.
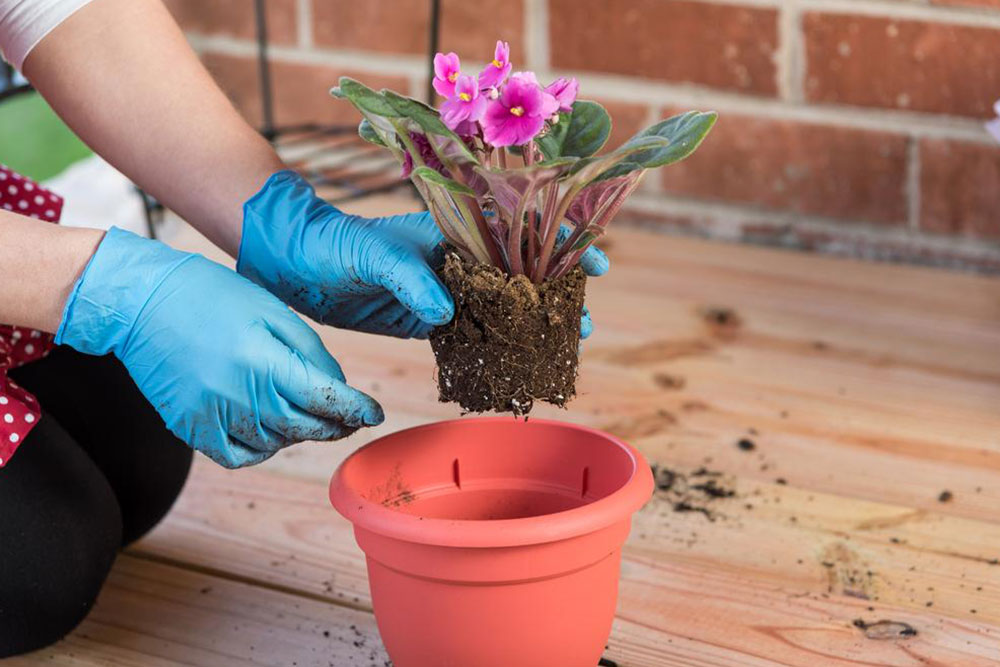
Step 8: Care and maintenance
Fill the container with a balanced mix of soil and compost. Use support stakes if needed for taller plants. Since moving a filled planter is difficult, plan placement carefully. Happy gardening with your stylish wooden container!
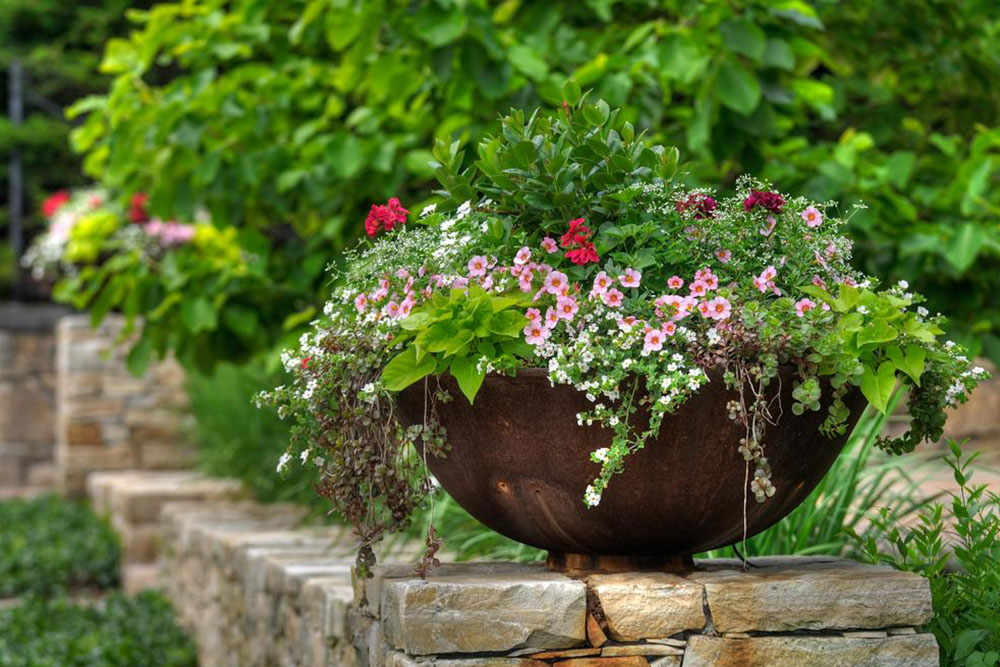
Creating a wooden garden container adds both functionality and aesthetic appeal to your space. Grow herbs, flowers, or vegetables and enjoy a lush, personalized garden.