How to Properly Use an Insulin Pen for Diabetes Management
Learn how to accurately and safely use an insulin pen for diabetes management with this step-by-step guide. It covers preparation, dose setting, injection technique, and safe disposal, ensuring confidence in self-administration for better blood sugar control.
Sponsored
An insulin pen offers a convenient way to administer insulin exactly when needed, whether at home or on the move. Its sleek, compact design ensures ease of use and precise dosing, making self-injection straightforward for patients.
New to insulin pens or assisting someone else? Here’s a simple guide to ensure correct usage:
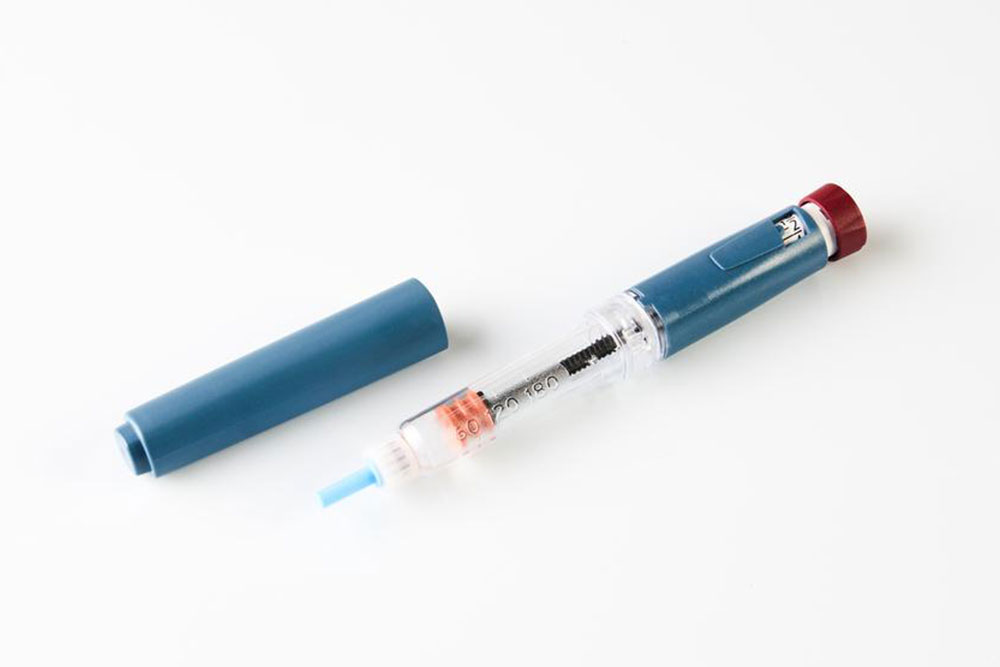
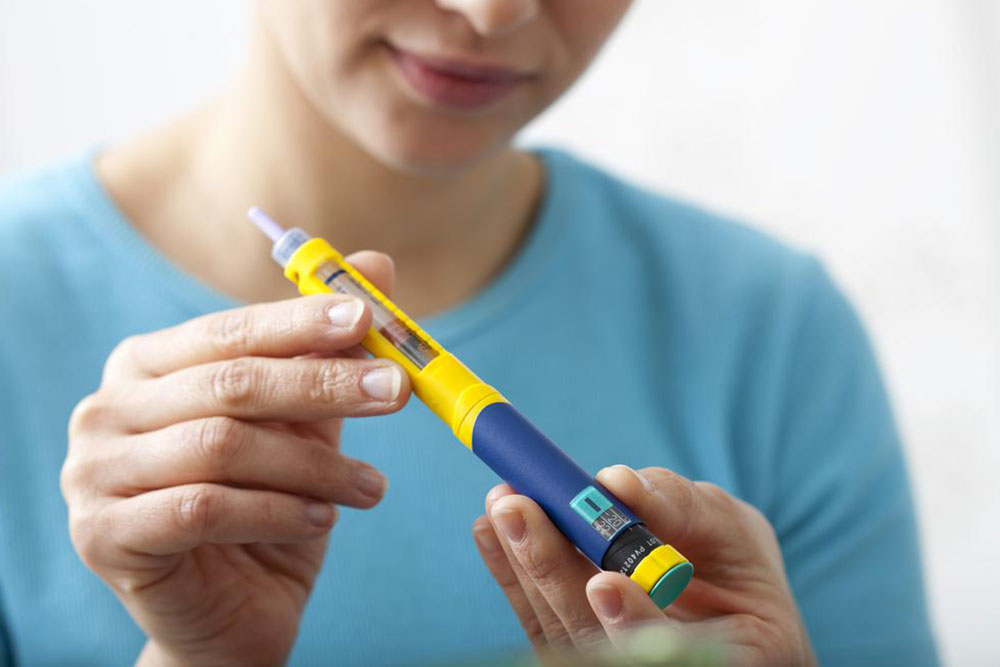
Start by preparing the pen; if it’s a cloudy (milky) type, gently rub it between your palms for a few seconds. Next, remove the paper from the needle cap to prepare the needle.
Attach the needle by screwing it onto the end of the pen after removing the cap. Once secured, take off the outer needle cap, followed by the inner cap — discard both the caps properly. The needle will be exposed for injection.
Set the dose dial to 2 units initially, holding the pen with the needle pointing upwards. Press the button to release insulin; ensure bubbles are absent. If no insulin comes out, press again. Verify that the insulin is expelled without air bubbles.
Reset the dose selector to zero. Then, turn the dial to your prescribed dose; double-check with your healthcare provider if unsure. Proper dosage is critical: avoid under- or overdosing.
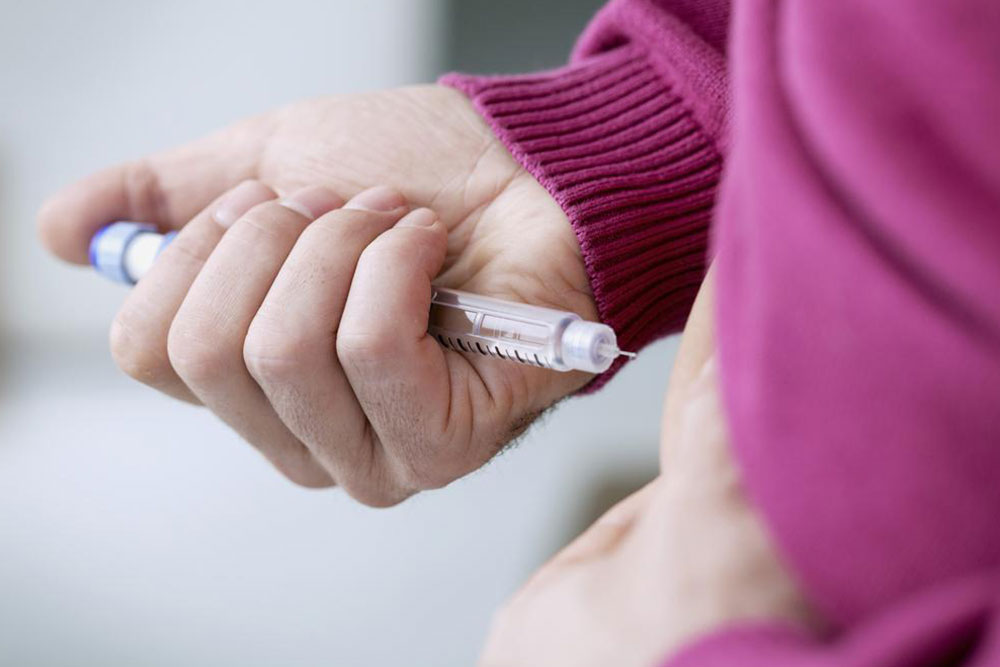
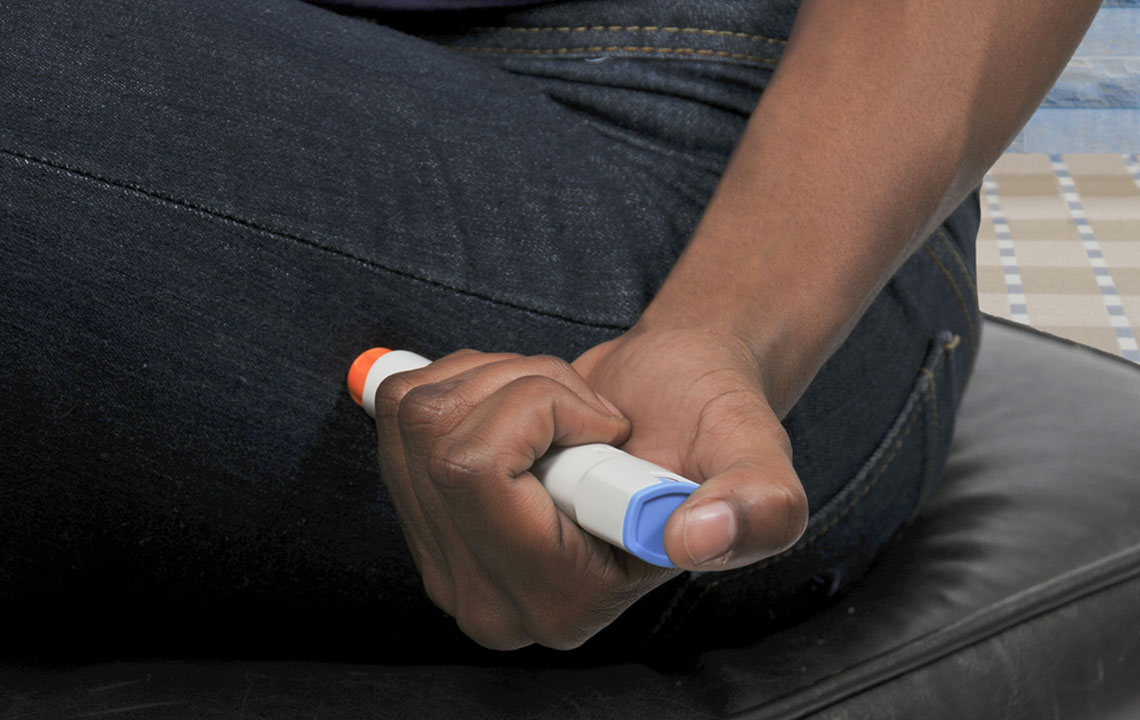
Before injecting, stay calm to ease nervousness. Pick a comfortable, well-lit area. Hold the pen in your dominant hand, and with the other hand, pinch a fold of skin about an inch and a half wide. Insert the needle at a 90-degree angle, and inject the insulin smoothly without pressing too hard. Keep the needle inside the skin for about 10 seconds before removing it slowly. Continue pressing the button until the needle is fully withdrawn.
Safely dispose of the needle and store the pen as per the manufacturer’s instructions to maintain its effectiveness.