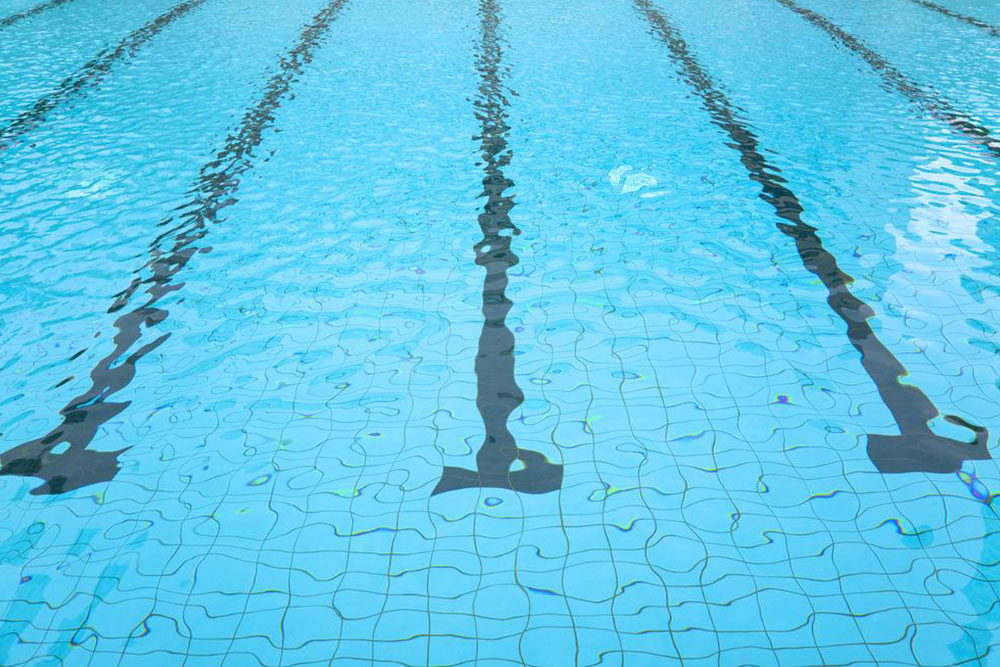
DIY Guide to Repairing Intex Pool Liners
Learn practical DIY techniques to repair your Intex pool liners easily. This comprehensive guide covers patching inflatable rings and sealing leaks above and below the waterline, helping you extend your pool's life. Use simple tools and materials to perform quick, effective repairs, saving time and money while maintaining a safe swimming environment.
Sponsored
DIY Methods for Fixing Intex Pool Liners
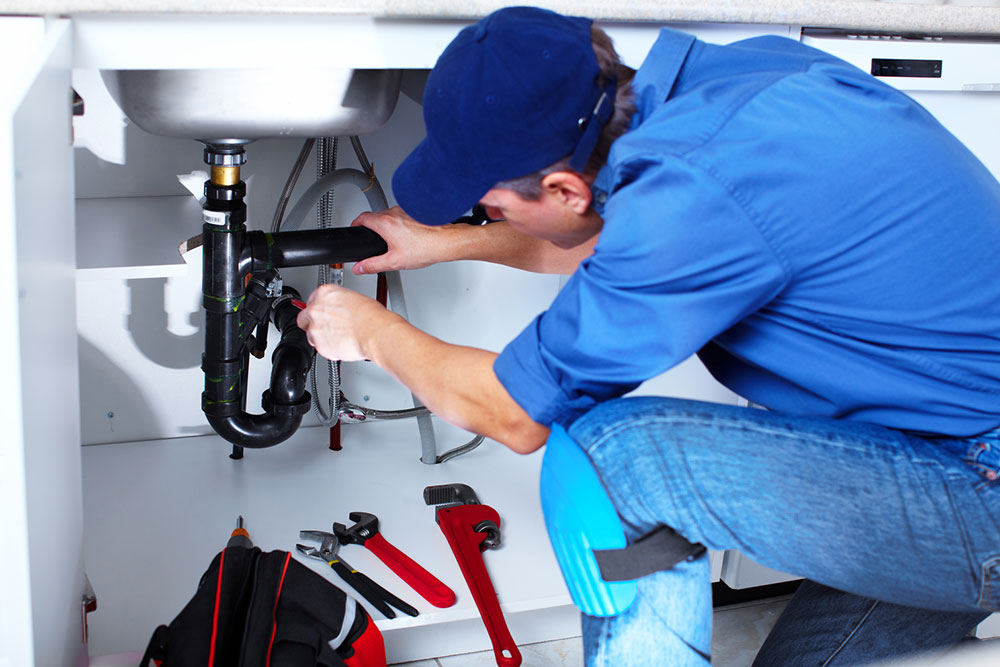
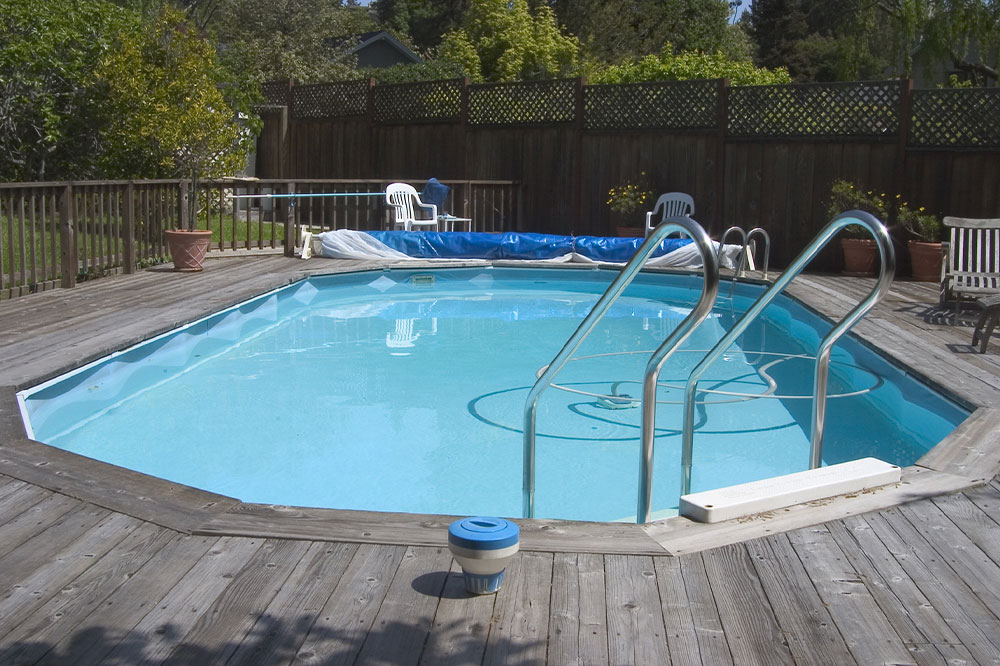
Intex above-ground pools often face wear and tear, leading to leaks that can disrupt your swimming experience. Fortunately, repairing Intex pool liners can be straightforward with a proper patching kit. Essential tools include scissors, cotton swabs, a permanent marker, and an air pump to assist in locating and sealing leaks effectively. Patching can be done both above and below the waterline, ensuring a durable fix. Quick, cost-effective, and simple DIY repairs can extend the lifespan of your pool and keep it in top condition.
Inflatable Ring Repair
For Intex models featuring an inflatable ring, deflation caused by tears or punctures can occur. Fully inflating the ring helps to identify the leak. Mark the spot with a permanent marker, cut a circular patch from the provided clear material, and apply adhesive to both the patch and the damaged area. After a brief wait, press the patch onto the leak, smoothing out any air bubbles and ensuring proper adhesion.
Above and Below Waterline Patching
Cut circular patches slightly larger than the leak—by at least half an inch—using the patterned material in the patching kit. Apply adhesive to the patches and the pool wall, wait 10 minutes, then carefully place and smooth the patches from the center outward. For underwater repairs, apply adhesive to the patch, fold it in half, wait, then unfold and align it over the leak, smoothing it in place for a secure bond.
Keep this guide handy for efficient Intex pool liner repairs, ensuring your pool remains safe and functional through DIY fixes.